Hi friends! I’m sharing my favorite project of all time today - my brick backsplash! 😆 I had dreamed of a brick tile backsplash for a while and then one day I was scrolling through types of tile at the store and learned of these thin brick tiles by Old Mill Thin Brick Systems! They are real bricks sliced to 1/2” thickness and come in a variety of colors. I was super geeked!!
I ended up ordering three boxes of the single brick tiles in the color Castle Gate. They come in boxes of 50. I started my install by laying out a few bricks to make sure I split the colors up.
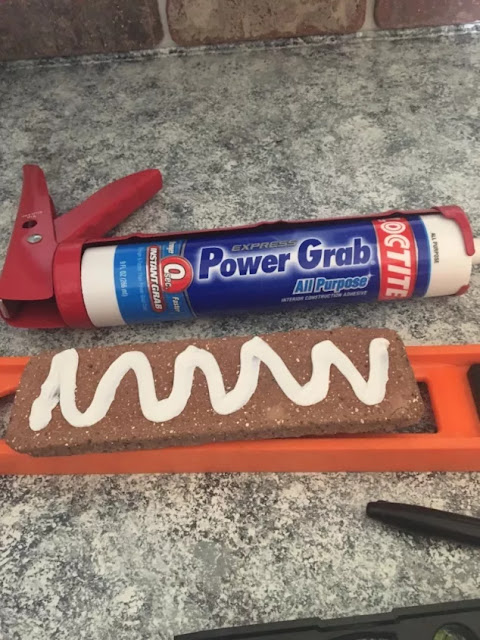
For the adhesive, I used my favorite - Loctite Power Grab! This stuff is so good!! They are not fibbing about the instant grab! I went through 3-4 tubes of these throughout the install.
Okay, so after I applied the adhesive, I literally just stuck the brick to the wall and then moved on to the next one! The beauty of brick is that you don’t even need to measure. I used my index finger as my spacer, so I put each brick one finger space above my countertop and one finger space apart. You could, of course, use tile spacers or even a pencil would work great.
After I had a few bricks up, I would go through and make sure they were level. The adhesive grabs right away but is still repositionable for about 15 minutes.
I used a basic tile cutter, I just made sure to score each brick 4-5 times before cutting, since they are thicker than a standard ceramic tile. It worked great!
My husband installed these gang box extenders to bring the switches/outlets out 1/2" to make them flush with the front of the bricks. They just slide into your existing gang box. Do not omit these and just use longer screws. These are important!
At this point, I knew my painted counters had to be changed. I loved them while they lasted though!
Let’s talk grout - I used premixed sanded grout because I knew I would be working on this at night after work, so I would be stopping a lot. Premixed grout is the more expensive route, but I didn’t want to mix up new grout every night and have a lot of waste.
I scooped my premixed grout into my grout bag with a plastic scraper and squeezed it into each space and then smoothed it out with a damp sponge. The grout bag was a little big for me to handle though, so I did end up switching to a quart size plastic bag. Each container of grout also came with a grout sponge.
The grout does set up pretty quick, so I did make sure to work in small sections. I kept a bowl of water handy and would smooth the grout, clean the sponge, smooth some more, clean sponge, then clean off the brick face. I wanted a german schmear look, but didn't want total coverage, so I chose to grout pretty heavy. You can choose any grout method and color of grout to fit your space and style.
All done! I love it so much!
I did not purchase corner bricks, since I only had one corner. I used the other side of the cut brick from one wall and butted it up tight to the same brick on the other wall. After it’s grouted, you can’t even tell there is a cut.
I love cooking and cleaning in this cozy kitchen so much now! 😍
Links to these products:
*May contain affiliate links
Old Mill Brick Thin Brick Tiles in Midtown (Looks to be an exact replacement for the color Castle Gate that I used.)
Plastic Putty Knife (Scraper)


0 Comments:
Post a Comment